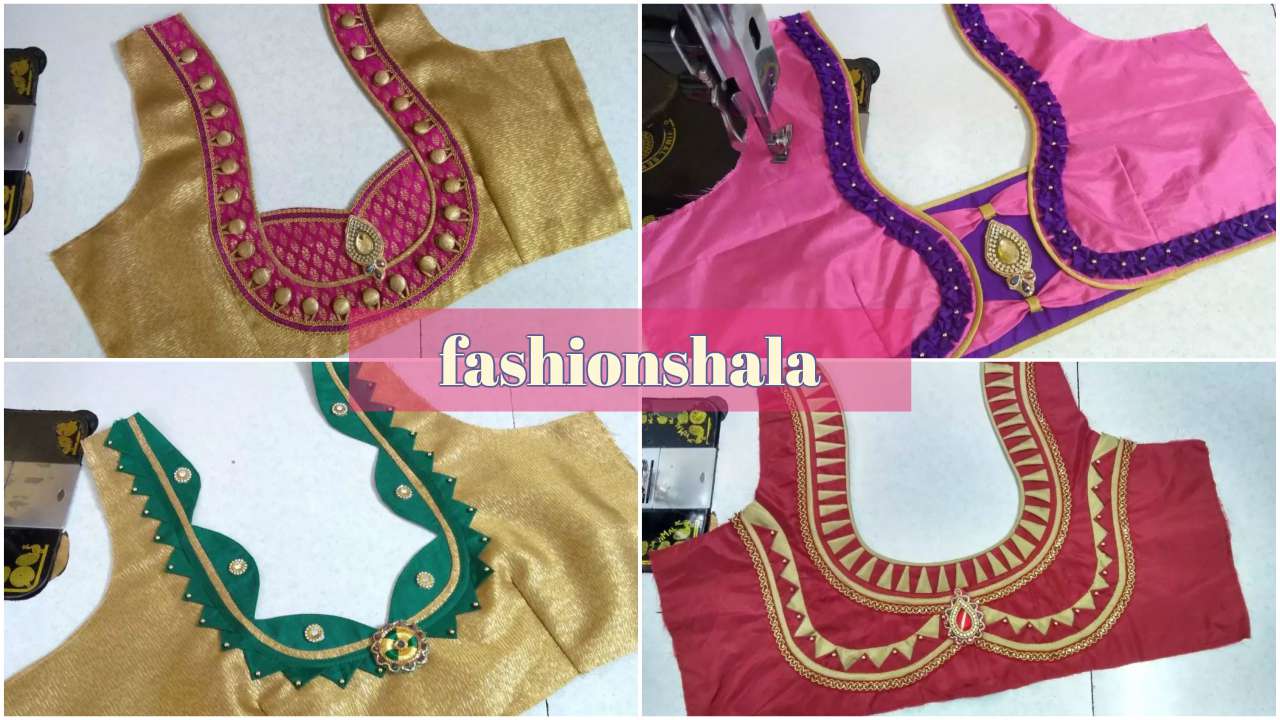
DIY Easy Designer Baby Frock Tutorials
Baby Frock Tutorials!
Are you a mother and want to dress up your little girl? Or or you are new aunty and want to gift something nice and cute to your niece? We have some great ideas for making adorable frocks for the little one. We have taken few good combinations, you can use your own creativity and take the different shades of color and make something beautiful of your own!
Welcome to Fashionshala. Today we will teach you to design baby frock for a three to four old baby girl. It is a very easy tutorial and you can do this within an hour.
Let’s get started!
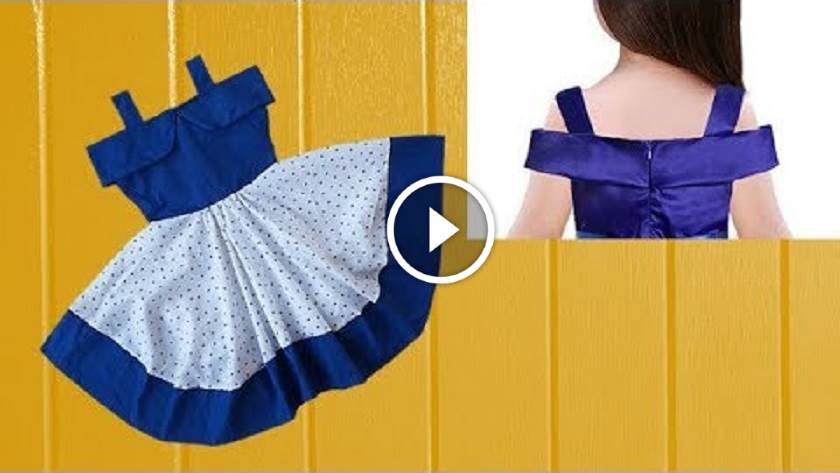
Designer Baby Frock Tutorial
- We will take two cotton fabric of 1 meter each
- Take a plain fabric and fold it four times.
- We will take shoulder part of 4 inches and arm hole will be 4 inches and will join both the points by drawing a line.
- The chest part will be of 7 inches. Make a curve shape for arm hole.
- For top part we will take 9 inches and waist will be 6 inches and we will join both the points by drawing a slant line.
- Cut the lines and you will get the top part. Open the cloth and you will find two parts front and back.
- We have taken four straps and cut it in the shape of armhole. Then place them on the border of armhole and pin it. Now we will lightly put nudges.
- We will double fold the armhole strap and will stitch it on the opposite side.
- Also double fold the top side and stitch it.
- Now, take one side and mark the center and draw a straight line till 2 inches above and cut it
- We have made a strips of same size that of cut. We will place it in the cut and stitch it, after that we will turn it on the opposite side and will double fold it and stitch the straps. Now we will attach the chain.
- Take the zip and open it and place it carefully in the strips and stitch it properly.
- We will take two straps of 9 inch long and 6 inch broad
- Double fold each strip and stitch it and will turn inside out so that the stitching part is not visible.
- Take both front and back side and attach the straps on the border of both the parts. This will be the sleeves of the blouse
- Now take a cloth of length 16 inch and broad 7 inches
- Double fold it and make a slant line and stitch it and join the opening side. Cut the extra fabric.And turn the fabric inside out to make the stitching invisible.
- Now take the top part and both the strips.
- Arrange the strips from the center to the opposite side making sure that the slant cut will be in middle. And sew it.
- Make the strips at 3 inches from both the side and will fold it at the marking and will take the remaining part to the backside.
- Arrange the strips properly on the backside and stitch it according to the proper measurement on the sides of zip. If you have extra fabric then cut it.
- Now we will take the printed fabric. Here we have taken a cute white and blue polka dots fabric.
- Double fold the fabric keep it 29 wide and 21 inches long.
- Again double fold it now you will get 4 folds. From the folded area mark at 5 inch and mark length also of 5 inches and make a round shape and cut the marking.
- Again mark 10 inches broadness and 11 inches length and make a round shape join both the points and cut it.
- Now open the cloth and you will get two piece, front and back.
- Take another strap of 5 inch wide and 37 inches long of plain fabric.
- We will make it border of the printed fabric in round shape and will stitch it.
- Stitch the waist side and make the gathering for both the front and back side.
- Take the top part and bottom part and join both the sides.
- Now place both the part up on each other and sew it.
- After from the side, take the border and double fold it and sew it.
Now you are ready with a cute designer baby frock!
Designer Frill Baby Frock Tutorial
- Here is an another designer frill baby frock full tutorial!
- We will take two cloths one plain and one printed of 1 meter each
- Take the printed fabric and four fold it. We will make the top part first
- For shoulders we will take four inch and arm hole also of four inch. We will join both the dots.
- We will take chest of 7 inches. For length of top part we will take 10 inches and for broadness we will take 6 inches.
- The neck broadness will be 2.5 inches and length will be 3 inches. We will make a curve
- Now we will cut all the marking and we will have the cutting of our top part ready
- We have front and back part. We will take a lining cloth and cut it in the same shape.
- Place the printed part on the base fabric and mark the center at 7.5 inches and will draw a line at 3 inches from the top neck and will cut it. This is for placing the hooks.
- Now take the other base fabric and place the printed fabric on it.
- We will stitch the armholes and neck part and we will put light noches.
- Turn both the fabric inside out so that the stitches become invisible.
- Take the plain fabric double folded of length 16 inches and will mark it in curve shape from the open border. Now we will cut it in the same shape.
- We have taken long strips of printed fabric and will double fold it and sew it.
- Take the plain fabric and fold it half from both the ends. As keeping the curve shape in between. Refer the video (time 7 min) for understanding.
- Place the printed strips on the border of the plain curve and stitch it by making pleats. Now open the fabric and we stitch it from the top and make the gatherings.
- Take the top front part and stitch it with the back part starting from shoulder and than the sides. Open it outside in and we are ready with the top part.
- Now take the bottom part and fold it half half from the sides
- Take the upper part and bottom part and stitch them both together.
- For making it look more cute, we have made a bow from plain fabric and have attached it on the frock.
- Here you are ready with a beautiful frill frock for you baby girl!
Designer Baby Frock Tutorial for 12 Year
- We will take a plain and printed 0ne inches fabric
- First take the plain fabric and fold it four times.
- Start from shoulders and mark it at 4 inches and mark the arm hole at 4 inches an join the both inches. The chest part will be of 7 inches.
- Draw a curve shape arm hole and lenght of top part will be 8 inches and waist will be 6 inches.
- We will join both the points by drawing a slant line.
- The broadness of neck will be 2 inches and length will be 1.5 inches for front and 2.5 inches for back. Draw both the neck in curve shape
- Now cut all the marking and you will get two piece of cloths. One front part and other back part.
- We have taken a four plain straps for the arms and place it on the border of the arm and stitch it.
- Do the same thing with the neck. Take the plain strap of neck shape and place it and stitch it.
- Make the light noches and turn it inside out so that the stitching is not visible.
- You will get the piping look, which will look beautiful.
- Take the back side of the fabric and mark it at the center. Then cut it till the end.
- Now we will take the zip and stitch it with the fabric.
- Now take the front side and place it on the back side and stitch it. Start from the shoulder side. And then sides.
- Take the plain rectangle fabric of length 14 inches and fol it in cross and mark a slant line and cut it.
- We will get a triangle shape strip and we will do the same for whole fabric. You will get almost 9 such strips.
- Now take the printed fabric and cut it ion the same triangle shape strips.
- After cutting the strips of printed and plain straps now take both the types of strips.
- Take the plain strip and stitch it with the printed strip from the border. After printed strip again take the plain strip and stitch it.
- Repeat this, one plain strip and one printed strip for all the strips.
- Now take the top part and bottom part and stitch it together. Take the printed strips and stitch it on the sides of the waist to make it a belt.
Now you are ready with the frock!
I hope that this article help you in learning something new today! All the above mentioned three frocks are very easy to make and will look adorable on you little baby Doll. Try Making these frocks and do tell us what was the end result and did you baby girl liked it or not!