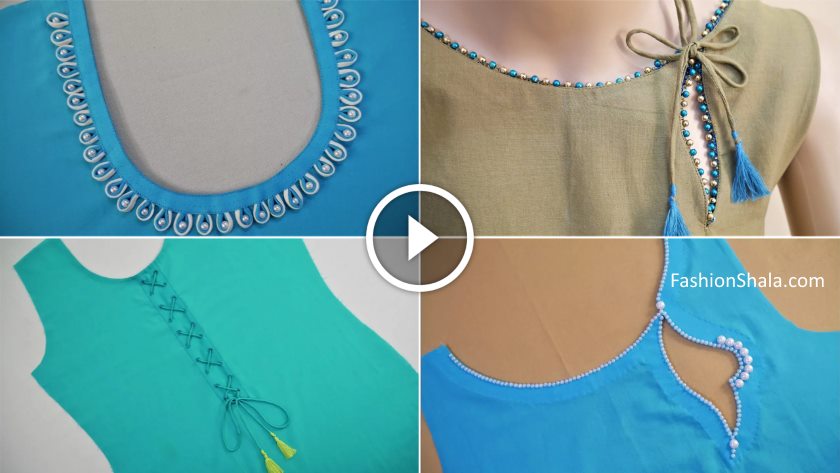
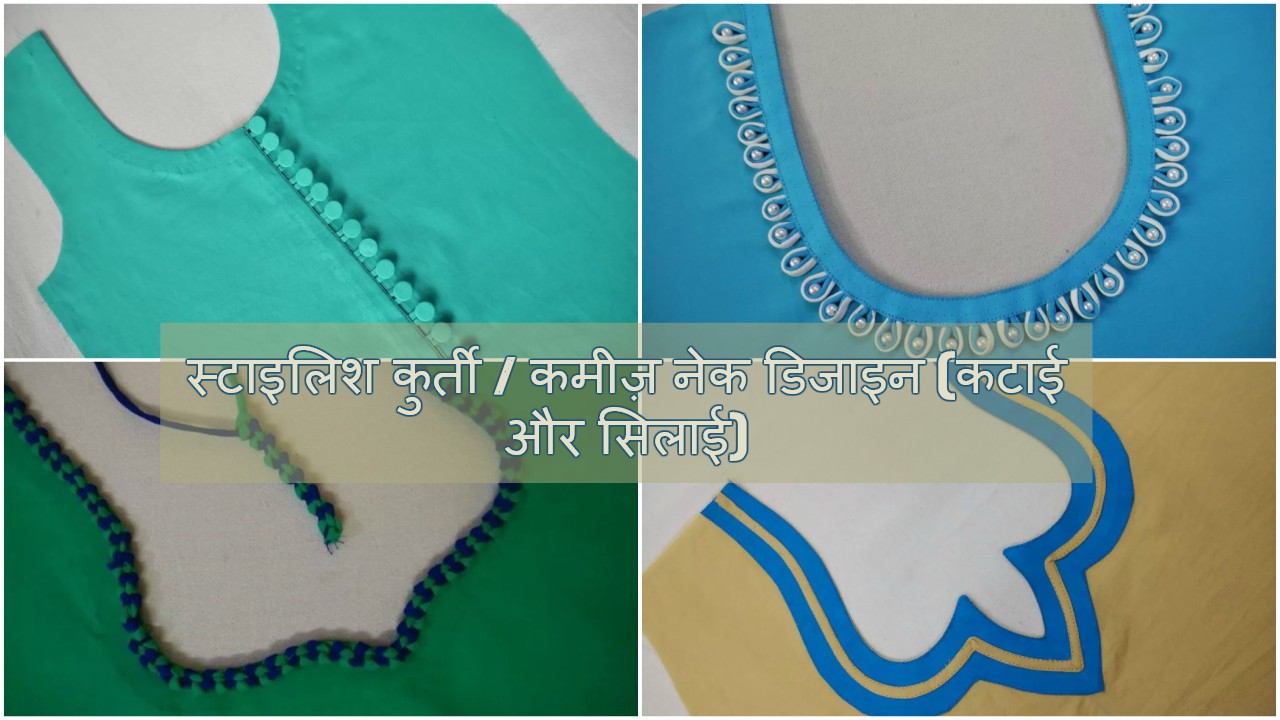
Stylish and easy kurti neck design cutting And stitching
Kurtas are the most versatile piece in a woman’s wardrobe. From workwear edit to festive occasions, kurtas are trending. They are comfy, fashionable and must have.
Kurtas are the first love of every Indian woman. From designer to tailored we love to splurge our money on clothes. As a woman, I know, I love shopping. Don’t you?? If you do, you must know how expensive it can become to shop all the designer and trendy pieces.
It gets really intimidating watching all our favourite celebrities day in and day out looking for inspiration. It also gets tempting while we browse through all those expensive shopping websites. While we feel like getting all of them, we fall short on our budget. And our dream of becoming a fashionista stays as a dream.
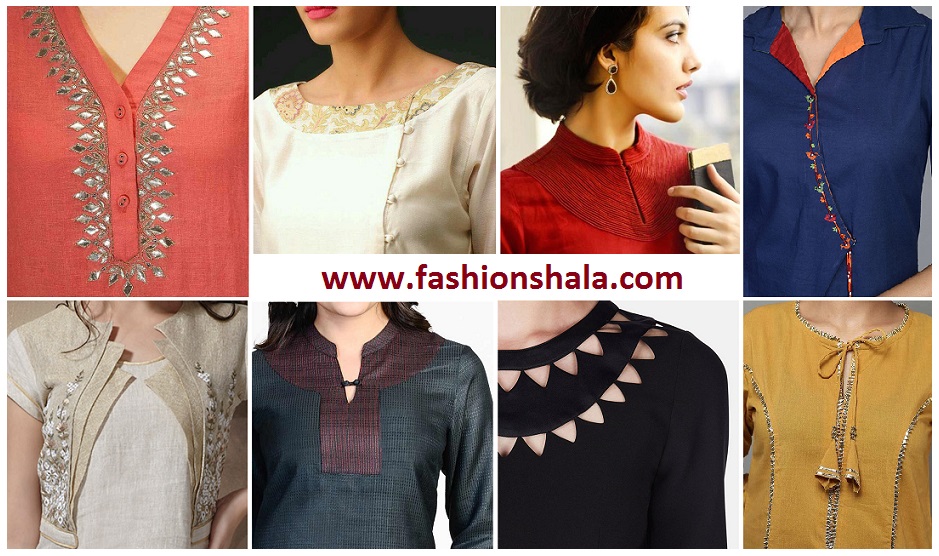
Apart from the silhouette, pattern, print and fabric what is the first thing that you notice in a kurta?? It’s the neck design, right. We all have an obsession on the neckline and we all want to have the best of it. But buying it from the market or getting it tailored can be really frustrating and tiring. Even after so much of hard work to tend to fail in getting our perfect design.
Don’t worry guys, we have come to your rescue. So snap out of your depressing daydream and let us look into some ways by which you can achieve your dream look.
How do you feel about customising your own celebrity look?? Exciting, right? So here in this article, we have brought to you some easy breezy kurta neck stitching tutorials to help you out.
So, let’s roll!
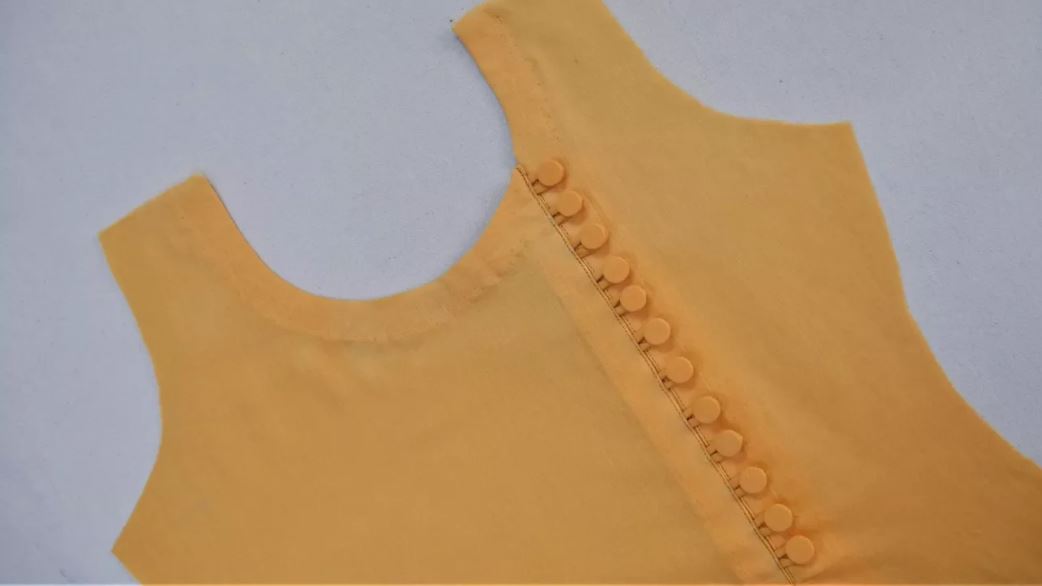
Stylish and easy kurta neck design cutting And stitching:
- Take a canvas paper, fold it into half and keep the length as 15 inches and breadth as 5.5 inches.
- Now according to your liking measure your neck width as 3.5 inches and depth as 6 inches.
- If you want your neck smaller take measurements accordingly.
- Join the points and once you get an L like shape, make a round shape inside the diagram.
- Leave a slight gap and make a straight line from where your diagram ended to the bottom.
- Next, on the top leave 0.5 inches and make another round shape for your neck.
- Make a straight line from the bottom of the round shape and take it to the bottom.
- Cut the paper using the guidelines.
- Once you get the neck design press it on your kurta fabric.
- Cut the fabric leaving an inch extra.
- Now fold the fabric along the edges and stitch it.
- Now fold the design from the middle and mark a line.
- Take the kurta and repeat the previous step.
- Place the neck on the kurta so that the middle line coincides with each other.
- Stitch the fabrics together and cut out the extra fabric leaving an inch.
- Turn the neck inside out and stitch it all over.
- Once everything is stitched in place cut small strips of the fabric and stitch the buttonhole in along the middle cut.
- On the other side take a broad strip of fabric fold in and stitch it along the edges leaving a little extra.
- Now place the buttonhole part on top and stitch it.
- Once everything is stitched take few buttons of the same colour and stitch it over the button loops. This is to give an illusion of the button down kurta.
Design From Dori On Neck/Sleeves/Chak:
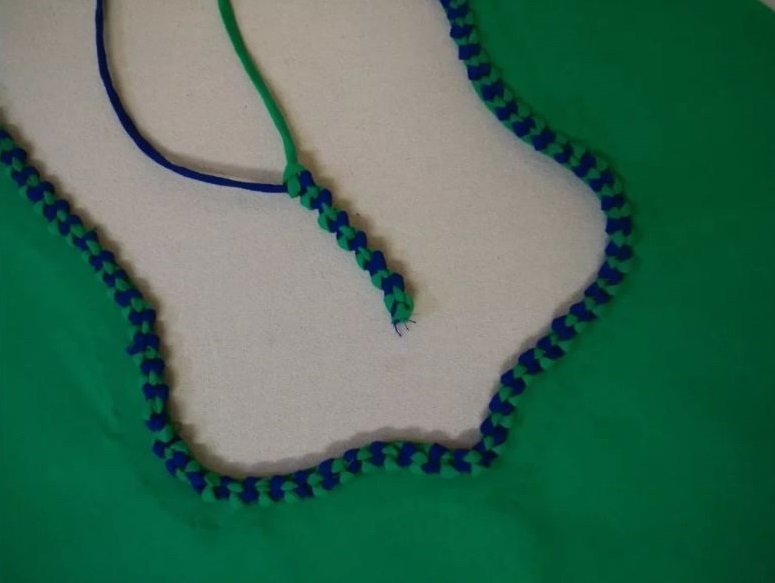
- Take 2 does of two different colours. One green and one blue.
- Stitch the top of the Doris then tie a knot alternatively with both the Doris.
- This will give you a knotted design as shown.
- Once the door is complete stitch it to your kurta for the neck design.
- Once everything is stitched in place your kurta neck is complete.
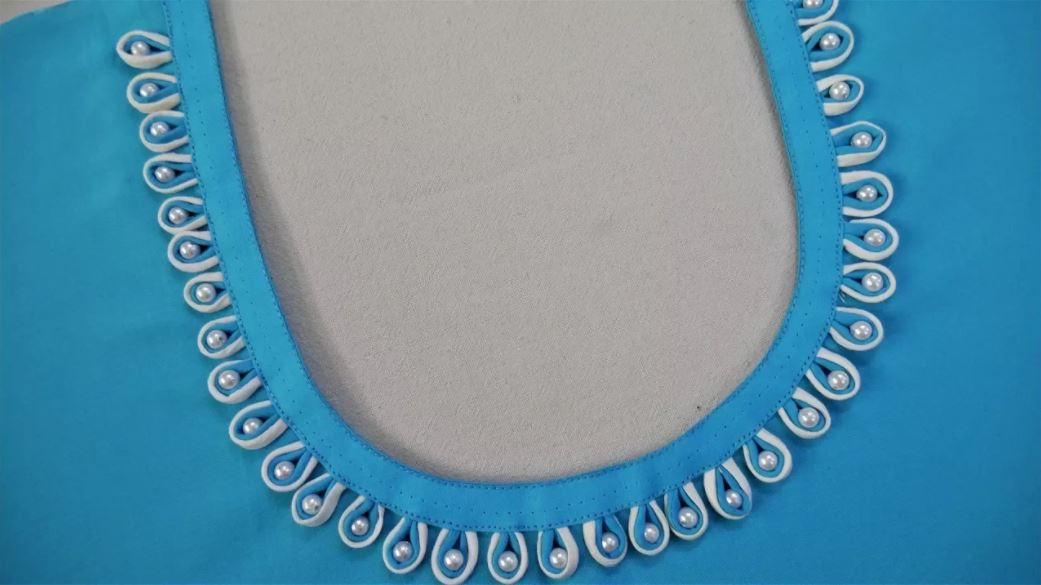
Unique Neck Design (Easy Way) Cutting And Stitching:
- Take a canvas paper and fold it into half.
- Keep the measurements as 8.5 inches length and breadth as 4.5 inches.
- Now mark the measurements of your neckline.
- Measure the neckline width as 3 inches and depth as 6.5 inches.
- Join all the points to get an L shape.
- Inside the L shape make the round design.
- Now again from the top mark another point on 0.5 inches.
- Cut the paper to get the U shape design.
- Take your kurta fabric and press it onto the fabric.
- Now cut out the fabric along the guideline leaving an inch extra.
- Now fold the edges and stitch it.
- Fold the piece in half and make a line in the middle and also make a cut.
- Take your kurta and fold it into half and make a small cut in the middle.
- Now place the neck on the kurta and stitch it along the middle line.
- Now stitch the neck to your kurta fabric along the edges of the paper.
- Once everything is stitched cut out the extra fabric leaving an extra inch.
- Fold the extra edges and stitch it.
- Once it’s stitched, take two Doris of different colours. One white and one blue.
- Cut the doris in 1.5 inches strips and take one strip of each colour and make a loop.
- Stitch all the loops along the neckline.
- Once everything is stitched add pearls in the middle to complete the look.
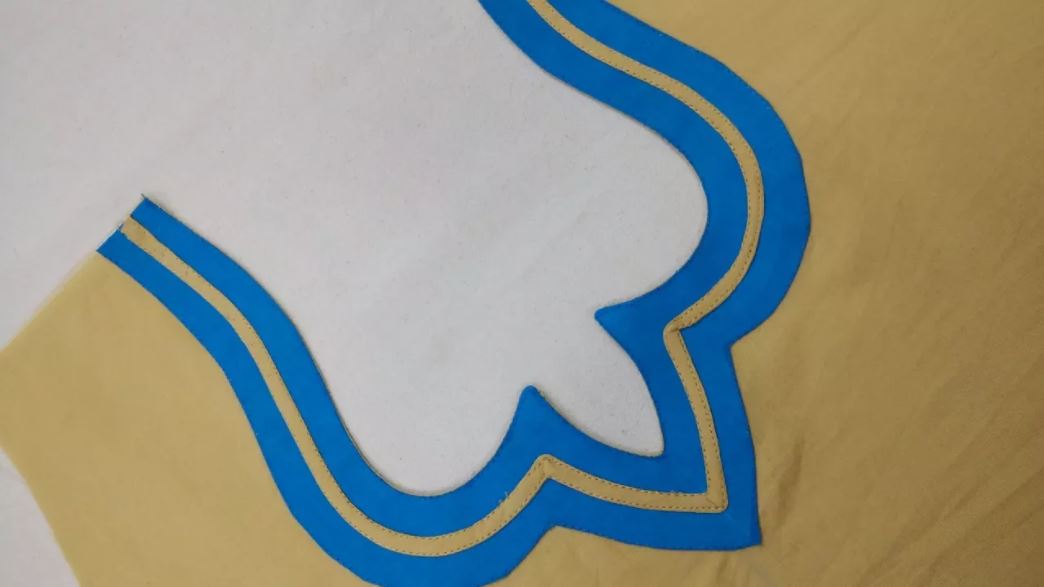
Simple And Beautiful Neck Design For Suit/Kurti/Kameez Cutting And Stitching tutorial:
- Take a canvas paper and fold it into half.
- Keep the measurements as 9 inches length and 4.5 inches breadth.
- Now mark the measurements of your neckline.
- Take the width as 3 inches and depth as 7.5 inches.
- Join all the points to get an L shape.
- Mark the neck design as shown and do a double outline.
- Cut out the design.
- Place it on your kurta fabric and press it onto it.
- Cut out the fabric leaving an extra inch.
- Now fold the edges and stitch it.
- Once the design is ready, fold it into half and make a line in the middle along with a small cut at the top.
- Take the kurta fabric fold it into half and make a line in the middle along with a cut.
- Place the neck onto the fabric and stitch the middle line.
- Once it is done stitch the neckline on your kurta.
- Cut out the extra fabric leaving an extra inch.
- Now the flip the fabric inside out and stitch it all over.
- Take a dori and stitch it on the middle of the neckline.
- Once everything is stitched, your neck is ready.
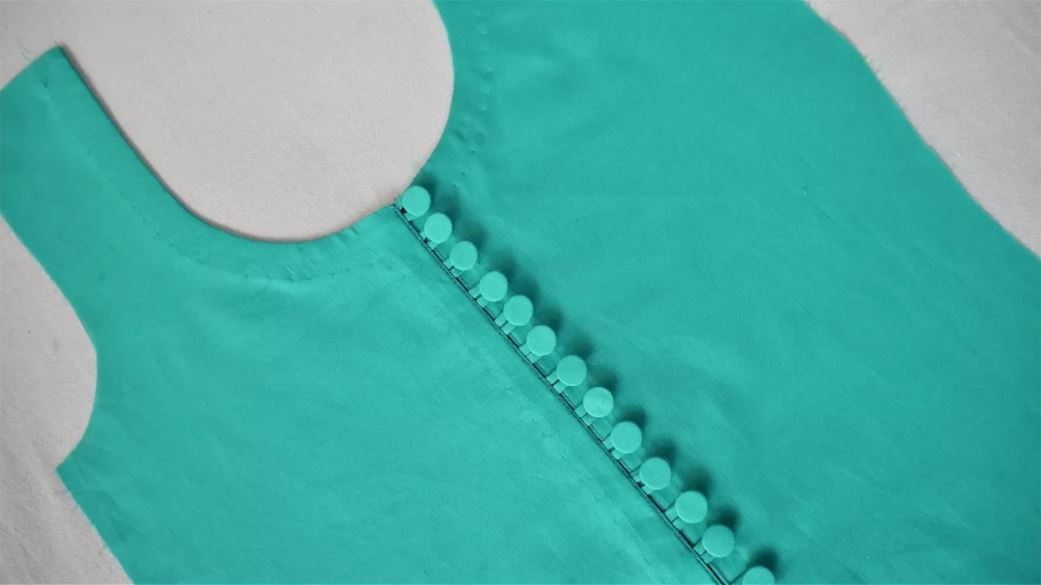
Stylish and easy neck designs Cutting And Stitching at Home:
- Take a canvas paper and fold it into half.
- Keep the measurements as 4.5 inches breadth and length as 14 inches.
- Now mark the measurements of the neckline.
- Keep the width as 3 inches and depth as 4.5 inches.
- Join all the points to get an L shape.
- Make a round shape inside the L shape to get your neck design.
- Cut out the shape and open the paper.
- Make a straight line in the middle of the paper.
- From the middle line mark 3 inches to the right side and make a straight line.
- Mark 0.5 inches along the neckline and draw some pointers.
- Draw an outline along the sideline that you drew earlier keeping a gap of an inch.
- Once it is drawn cut the middle line.
- Now cut out the design.
- Place the design on your kurta fabric and press it onto the fabric.
- Cut out the fabric leaving an inch extra.
- Fold the edges and stitch it.
- Now fold the design into half and make a line in the middle along with a cut.
- Take your kurta, fold it into half and make a middle line along with a cut.
- Place the neck onto your fabric and stitch the middle line.
- Now stitch the neck onto the kurta along the edges of the paper.
- Cut out the extra fabric and flip your neck inside out.
- Now stitch the neckline all over.
- Once everything is stitched, take a dori and cut it into equal pieces.
- Make a loop with the dori and stitch it along the line opening that you made earlier.
- Now take a broad strip of fabric, fold it into half and stuck it under the loophole keeping an inch or two extra.
- Once that is stitched overlap the loop side over the other side and stitch it.
- Once everything is stitched add some buttons on the loop to complete the look.
Now that you have seen all these easy breezy tutorials, hope these will help you to create your own customised designer kurta neck. Hopefully, you will save a lot of time and money as well as your sanity which you lose while hunting for your favourite piece. For more latest updates, stay tuned to Fashionshala.
Read More

About Author
sanjana
Pursuing my graduation in English Major. My hobbies are reading, listening to music and you tube. I am a mediator type and I find good even in the worst case scenario.