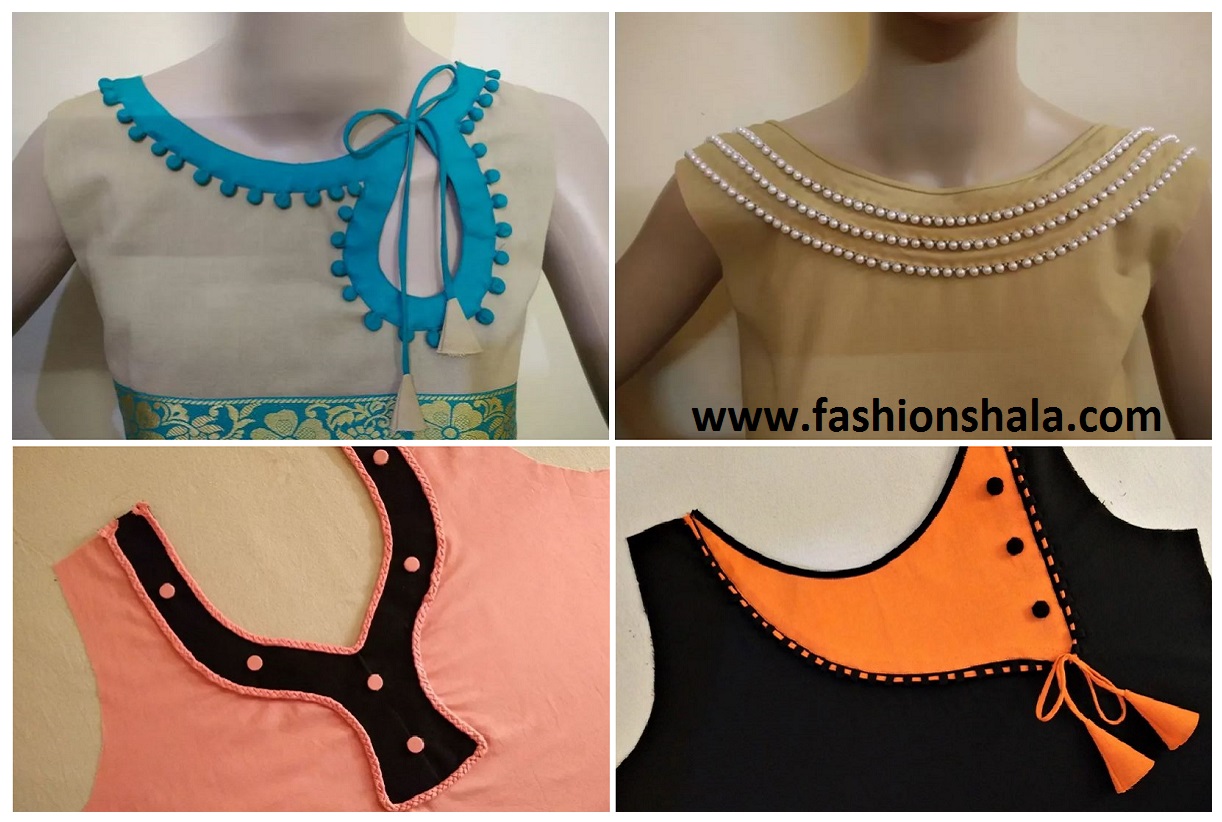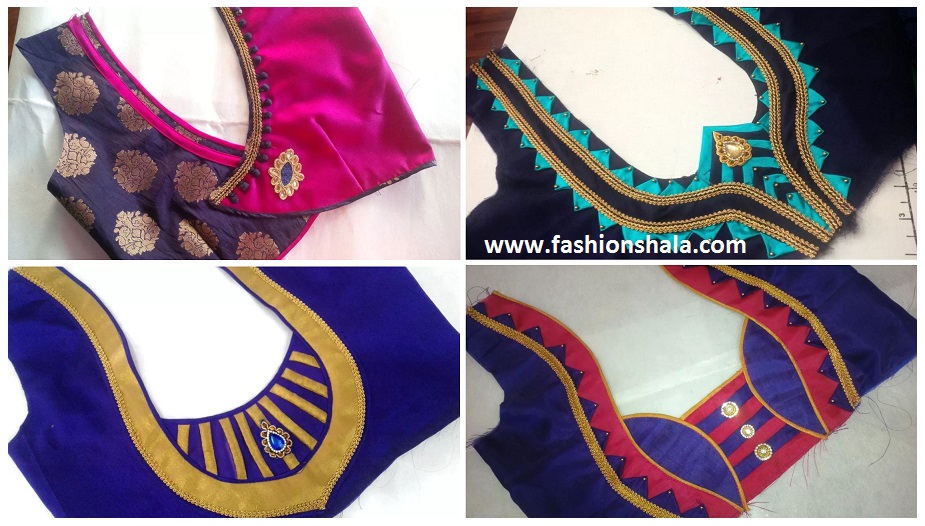
Beautiful Kurta Neck Design Cutting and Stitching Tutorial
Fashion has been quite updated nowadays. Not only in western outfits but even the ethnic outfits have updated their game. We come across many eye- catching and trendy outfits all around us. The local markets as well as the online stores are flooded with trendy ethnic pieces.
Fashion trends have been changing quite rapidly. 2018 was all about putting your best foot forward. From glitters to sequins, cold shoulders to neck cut outs, A-lines to anarkalis and so much more. Even we spotted the celebs in ethnic wear. From lehngas to sarees and some even modified into indo-western attires.
If you are also interested in ethnic wear, then you have come to the right place. In this article we are going to tell you some beautiful neck designs which you can look for while buying ethnic wear.
Let’s talk about the topwear first the “kurta”. Kurta is a very versatile product. It is a must have in everyone’s closet. You can pair it with literally anything. Be it Jean’s or leggings or trousers and even maxi skirts.
Everytime we buy a kurta the first thing we notice is its neckline and sleeves. It can leave a great impact when the neckline is trendy and is styled right. There are different types of necks for every occasion and every fabric. You just have to make sure to choose the right one for yourself.
Let us now see some of the latest kurta neck designs which will keep you on trend and will gain you loads of compliments.
Trending kurta neck designs:
- Boat neck:
As suggested by the name this neckline is shaped like a boat, similar to a U-shaped neck. This type is most preferred by women with a smaller bust. This gives you an appearance of a more fuller bust and makes your shoulder look broad. It also elongates your neck.
- Sweetheart neck:
This neckline is appealing to the majority of women. This can be worn by women of all shapes and sizes. But it is most reached out by women on the less bustier side. This makes them appear curvaceous.
- Square neck:
This is the most common kurta neck design. This type of neckline flatters mostly the pear shaped body type. As they already tend to have broader shoulders this neckline narrows the shoulders and elongates the neck. So the main focus tends to be your sleek neck rather than your curvy body.
- V neck:
This plunging neckline gives the illusion of a long neck and slimming down your bust line. If you are more on the heavy chested side this neckline is perfect for you. It makes you appear slimmer. If you have a smaller bust then a small V would make your chest appear more fuller. Other than that it can be worn by all shapes and sizes.
- Scoop neck:
This neckline is a deeper one. It cuts right to your bust area more like a deep U. This type is flattering for ladies with narrow shoulders and smaller bust. If you are heavy chested this is going to make you appear voluptuous.
- Keyhole neck:
This is a latest neck design which tends to be appealing to all ages of women. It looks super fancy and stylish. It is normally a hole starting from your collar bone and finishing right above your bust. No matter what shape you are it flatters all body type. Mostly because all the focus is at your neck rather than the rest of your body.
- Collar neck:
This is a very popular neck and most frequently chosen as well. It can be worn by all women. This gives you a slightly bossy look. It can instantly smarten up any outfit.
- Off-shoulder neck:
This neckline is very popular among younger women. Trendy and stylish as it is it can lift up your ethnic outfit and give you a gorgeous look. This tends to elongate the neck and compliments the shoulders. It is flattering for all body types. It is a must have statement piece in your closet.
- High neck:
This neckline has gained immense popularity. The high neck kurta gives you that classy and polished look. This is opted by all those women who wants to elevate their fashion game. This specially compliments a sleek body type.
- Halter neck:
Another trendy piece to have in your closet. This is a very elegant look and is perfect for confident women who are comfortable with showing off some skin. This goes past your shoulders all the way to your neck and is joined by straps behind your neck. If you are more of the dupatta type this is not for you.
- One shoulder neck:
Another trendy piece this covers only one of your shoulders leaving the other one bare. This is also a very frequently opted neck type. This suits mostly petite body shapes as it broadens your shoulders. This also gives you a very classy look. You can style this with a trendy choker to make it a statement piece.
- Cowl neck:
This looks like a scarf attached to your kurta. Apart from sweaters kurtas also have this type of neck nowadays. If you are bustier then this a perfect choice for you as the fabrics drapes down over your bust covering your bust area.
- Bertha neck:
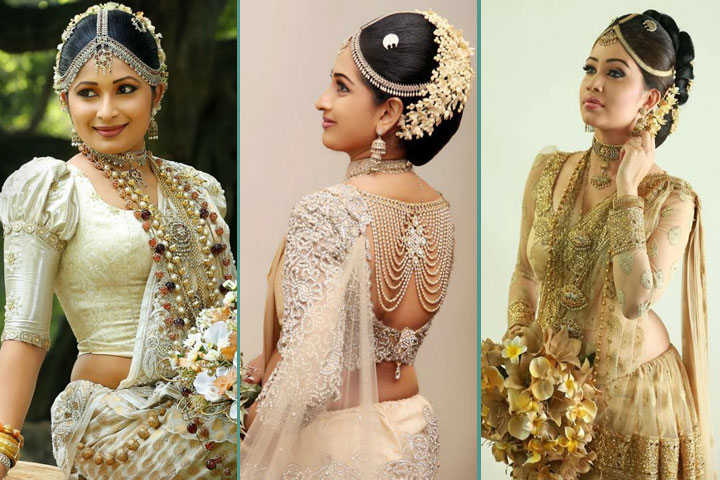
The Victorian period is back. This elegant neckline mostly comprises of an off-shoulder neck with lace collar on top. This type of neckline is mostly opted for wedding maxi kurtas.
- Round neck:
This is the most common neck type. This can be used for both office and casual wear. It can also be worn by all body types. This does not have a very trendy element to it.
- Mandarin collar neck:
This is also a very common neck type. This gives you a sophisticated look. This has short collars right below your jawline. This is most suitable for women with smaller bust.
Needless to say all body types are beautiful a neckline can really elevate your attire. Now that you have been familiar with all different types of neckline. Let us now see some videos on how you can stitch these at home to help you save some money. Well if you are not familiar with thread and needle, no worries just follow these steps and you will learn it in no time.
Sweetheart neck design cutting and stitching:
- Take a sample paper and fold it into half. The breadth should be 4.5-5 inch. The length should be 12-12.5 inches. Measure with a measuring tape.
- Now take a chalk and mark the width as 3 inch and for the length mark one point at 7.5 inched and the other one from 7.5 inches to the end.
- Mark 3 inches on the other side as well and join both of them together. Also join the 7.5 inche line to the above 3 inch line.
- Draw a sweetheart neckline halfway through till 7.5 inches mark on the right side of the paper.
- Draw a 2 inch mark below the 3 inch line that we drew earlier on the left side of the paper.
- Now on the right side of the paper start marking pointers at 1.5 cm away from each other till you reach the pointer on the left side of the paper.
- Do this from above the joined 3 inch line and end it below the joined line.
- Make sure to draw the sweetheart shape.
- Once you finished drawing all the shapes cut the paper and you will see your sample sweetheart neck is ready.
- Now take the actual fabric and turn it upside down( the visible side should be downwards just how you would turn a tshirt inside out).
- Place the cutting on the fabric and press it on the fabric.
- Cut the fabric 1.5 cm away from the actual guideline.
- Now fold the extra fabric and stitch it on a sewing machine
- Now that your fabric is ready fold it into half and draw a line on the excess fabric where there is no paper cutting.
- Now take your kurta turn it upside down and fold it into half.
- Now stitch the two fabrics together.
- After they are joined cut the excess fabric on your neckline of your kurta.
- Now turn the neckline on the visible side and start stitching.
- Now fold your neck from the middle and draw small dots on the bottom part of the neck line.
- Stitch the dotted line and stitch the neckline all over your kurta.
- Undo the middle stitch.
- Take 3 long straps of fabric and stitch it on top of your neck to secure it.
- Then do a three strand braid with the straps and stitch it onto your neck to create a beautiful design.
- Repeat the same process all over your neckline.
- Place some buttons on the neck of your kurta to make it more gorgeous and your sweetheart neck is ready.
For better understanding watch the video down below:
Here comes another pretty neck design tutorial.
Boat neck with keyhole:
- Take a sample paper fold it into half. The width should be 5.5 inches and the length should be 8.5-9 inches. Measure with a measuring tape.
- On the paper mark your neck width as 4.5 inches with a chalk and the depth as 3.5 inches.
- Join the two pints together.
- Mark a centre on the paper.
- Cut out the boat neck design.
- Take your fabric turn it upside down place the cutting and cut the design on the fabric.
- Now take the leftover paper and mark 2.5 inches on the right side on top of it. Mark 4 inches below it.
- Join the points and draw a keyhole shape on the paper.
- Place the paper on the fabric( the boat neck we cut earlier ) and press it.
- Cut out the design keeping 1.5 CMS extra.
- Stitch the neck to your actual kurta fabric and cut out the extra fabric.
- Turn the fabric to its visible side and press it to make the sewing clean.
- Stitch the neckline all over the fabric.
- Now to make buttons, take a square fabric and wrap it on the button and hand stitch it.
- Now place the buttons all over your neck line and tie a thread on top of the key hole to make it more appealing.
For more information please watch the video down below:
Let us now see another tutorial to make it even easier for you to create your own necklines at home.
Embellished boat neck tutorial:
- Take the fabric whose width should be 7 inches. Measure with a measuring tape.
- Mark the length as 4 inches and depth as 3.5 inches. It should be big enough to fit your neck.
- Join both the points and make a semi-circle.
- Cut out the fabric.
- Take another rectangular fabric and make a triangle on it. Mark another pointer 2 inches away from the line of your triangle.
- Cut out the fabric pieces.
- Take the boat neck fabric and place the other cut fabric on top of it. Since the triangle fabric is a bit broader fold it into half.
- Stitch the fabric onto your neckline.
- Take another fabric of the same measurements and stitch it on top of your previous fabric. This time stitch it a little to the inner side as well.
- Now cut 2 more fabrics of width 2.5 inches and length a little longer than before.
- Stitch the fabrics to make it as straps.
- Now stitch the fabrics below one another to create an overlapping pattern.
- Cut out the extra fabrics.
- Now take a 3 pearl lace strips and hand stitch your lace onto your design.
For more detailed illustration please watch the video down below:
Now that you have seen the various types of design and how to cut and stitch it try doing these at home. If you find hand stitching difficult be ask your elders for help or do it under adult supervision. It is time consuming I admit but it saves you a lot of money. So definitely give it a try and rock it.


