Latest Sleeves Design Cutting And Stitching 2019
We all know that Indian outfits are never out of style.And specifically if we talk about kameez or suits or even blouses then they can never go wrong.But u need to be unique to stand out.
In this article I will be showing you some unique sleeve design which you can make for your blouse or kameez, suit or probably any dress by which you can transform those boring sleeves into a stylish one.I bet you these designs will turn heads of other ladies towards your outfit and truly speaking we ladies love that. Isn’t that true?
Here I will be showing you two designs which you can easily make at home all by yourself.You can choose any one or even both the designs and try them on your suits or kameez. So lets begin:
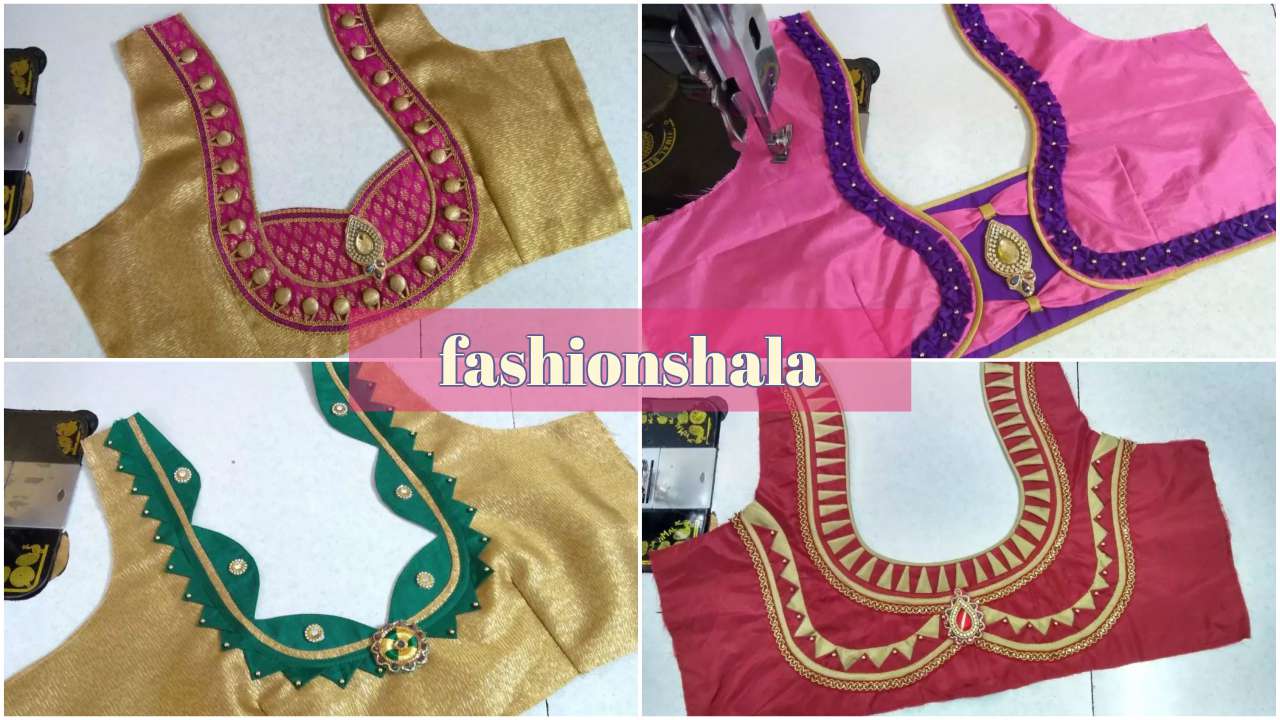
Unique Sleeves Design Cutting & Stitching
For making the first design, go through the following steps:
- First,take a cloth material and double fold it.
- Now,take the measurement of the broadness of your arms and take 1.5 inch extra and mark it on the cloth with a chalk.
- After that, measure the length according to your body and take 1 inch extra for stitching and mark it on the cloth with a chalk.
- Next cut it out according to the measurements.
- Now,on the open side mark 3.5 inch and connect it to its nearest diagonally opposite side making a design.
- Now mark 6.5 inch(take 1.5 inch extra for stitching) in the opposite side with a chalk.
- Then,connect this mark with the 3.5 inch mark with a chalk.
- Now,cut it out according to the design made on the cloth by the chalk.
- Next,make a depth of 0.5 inch in the upper side with a chalk.
- Then,lift up the first two folds a little and cut it out according to the design made by the chalk only for the first two folds.
- Now at the end,mark 1 inch and make a straight line along the length.
- Then,on the opposite side of the line leave 0.5 inch and then mark every 2 inches with a chalk and connect them with the straight line.
- Start making semicircles of 4inches connecting end to end of the small lines we just drew.
- Now cut it out along the design and separate the two pieces.
- Then,take a different cloth of any different colour which will look good with the cloth material.
- Next,mark 2 inches and take the length same as that of the sleeve and cut it out.
- Now,fold it and stitch it in the way you feel you want to give the piping.
- Then fold it and stitch again between the cloth and the piping.
- Then,cut small regular slits in the inner side of the piping.
- Take the two pieces,keep them side by side and mark the edge of each design with a chalk.
- Now, stitch each mark with a needle and join them.
- After joining,attach matching beads on the joinings for a beautiful finishing.
- Repeat the same process for the other sleeve.
That’s it! The first design is ready.
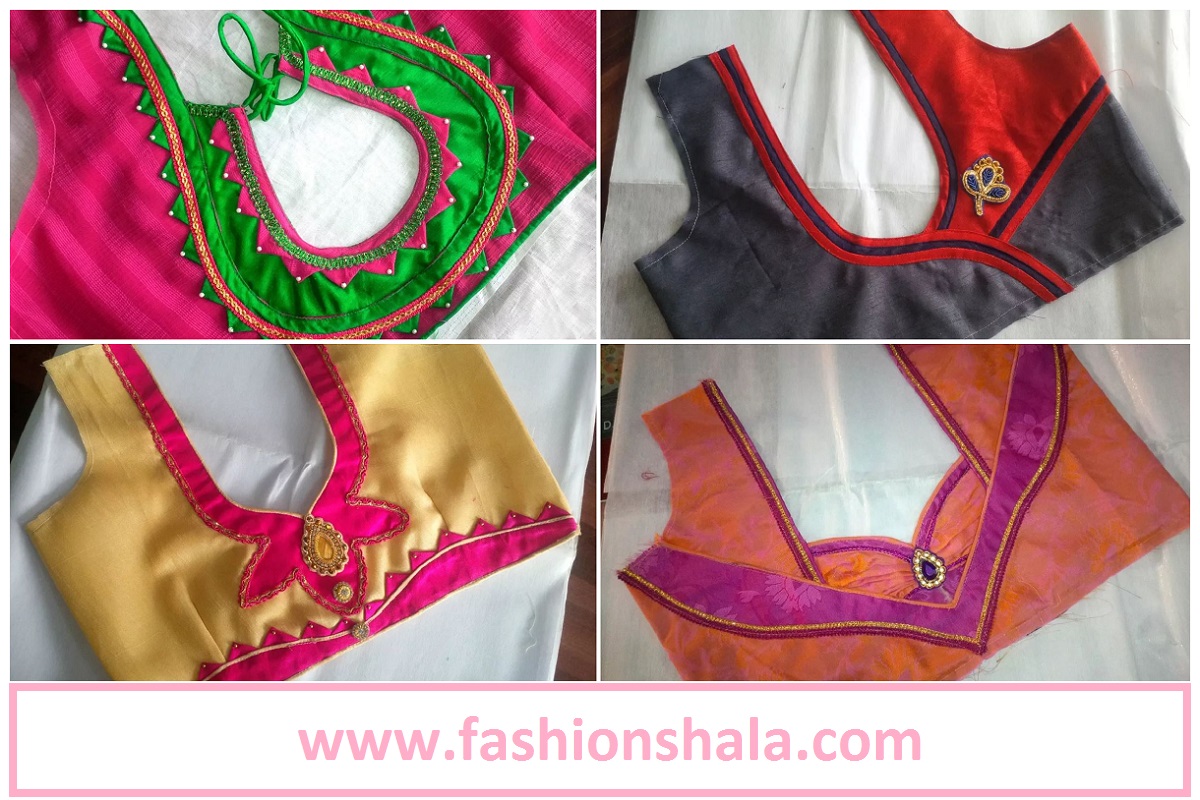
Latest Baju Design Tutorial
For making the second design,go through the following steps:
- Take a cloth material having a border.
- Measure the broadness of the arm,take 1.5 inch extra for stitching and mark it on the cloth with a chalk.
- Now, mark 3 inch on the open side and connect it with the nearest diagonally opposite side making a design.
- Next, mark 6.5 inches(1.5 inch extra for cutting) on the opposite side.
- Now connect it with the 3inch mark making a design.
- Now, cut it out.
- Then, mark a depth of 0.5 inch on the cloth with a chalk.
- Then, lift the first two folds slightly and cut it according to the depth.
- Now, take a canvas or pasting paper and cut it double the length of the border.
- Make a right angled triangle design at the corner taking base 0.5 inch and cut it out.
- Paste it with the cloth.
- Separate the two pieces and stitch it on the border.
- Cut the leftover extra border.
- Then, stitch on the back side.
- Now,cut the cloth material of broadness 2 inches and length similar to the length of the sleeve.
- Fold it above the border,double fold along the length and stitch it placing it above the sleeve along the edge on the back side.
- Now you have to stitch the two pieces together.
- Now,for making potli button,take a thermocol ball.
- Then,take a matching cloth and sew it with a needle.
- Make at least 20 potli balls in the same way.
- Attach the potlies in the back side of the sleeve by stitching them.
- Now take the cloth again and cut it in the same length as the sleeve having a width of approx 3 inches.
- Then stitch it with the other piece in which we haven’t attached potlies.
- After this,stitch the two pieces together carefully.
- Repeat this for the other sleeve.
And that’s it! The second design is also ready.
Thus following these procedures you can prepare your own different styles.You can also change the designs if you want.These procedures are a little timetaking but the result is really awesome.
If you are someone who has there own label,then also these styles will be very helpful for you as you can try something different that will draw the attention of more and more people towards your work.
Make sure you go through video tutorials once you have read the procedure because that will help you to understand the procedure better.I hope this article has helped you.Stay tuned till our next update. Till then stay fashionable.